Tutorial – How To Mint NFTs
Non Fungible Tokens (NFTs) are unique tokenized digital assets, which aren’t exchangeable 1:1 with each other. NFTs can be art, collectible cards, a person’s time or services, game items, domains etc. In this article however, we will focus mostly on […]

Non Fungible Tokens (NFTs) are unique tokenized digital assets, which aren’t exchangeable 1:1 with each other. NFTs can be art, collectible cards, a person’s time or services, game items, domains etc. In this article however, we will focus mostly on the art side of things.
Have you ever wondered how those neat and distinct looking NFT art pieces are created? So, how can you create them yourself? What about a single piece or a collection? How to sell them at profit? Maybe, become an artist? Let’s delve deeper into the creation of NFTs!
Creation Of NFTs: Requirements
First, you need either MetaMask (PC) or Trust Wallet (mobile). The NFTs minting service that we are going to use is the recently launched Ethereum based Cargo, however it goes without saying that you can use other platforms.
Since the NFTs minting involves transactions on the Ethereum network, you need to hold some ETH in your wallet. Finally, you need to have an idea in your mind and an art ready to be converted into immutable, ownership provable tokenized digital assets!
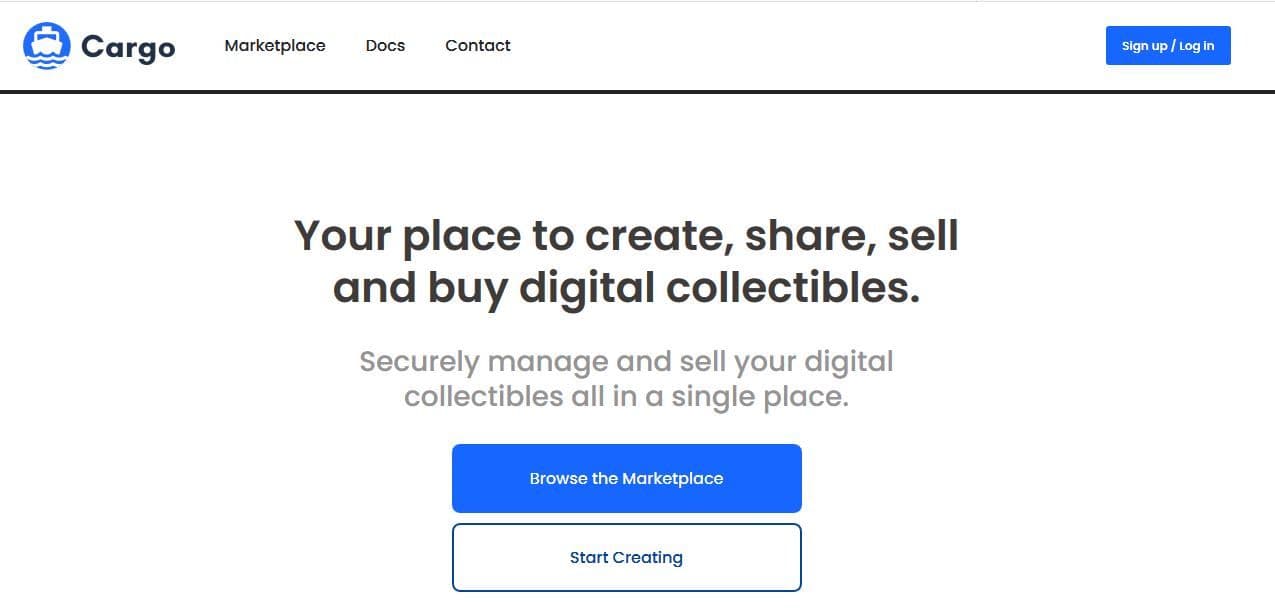
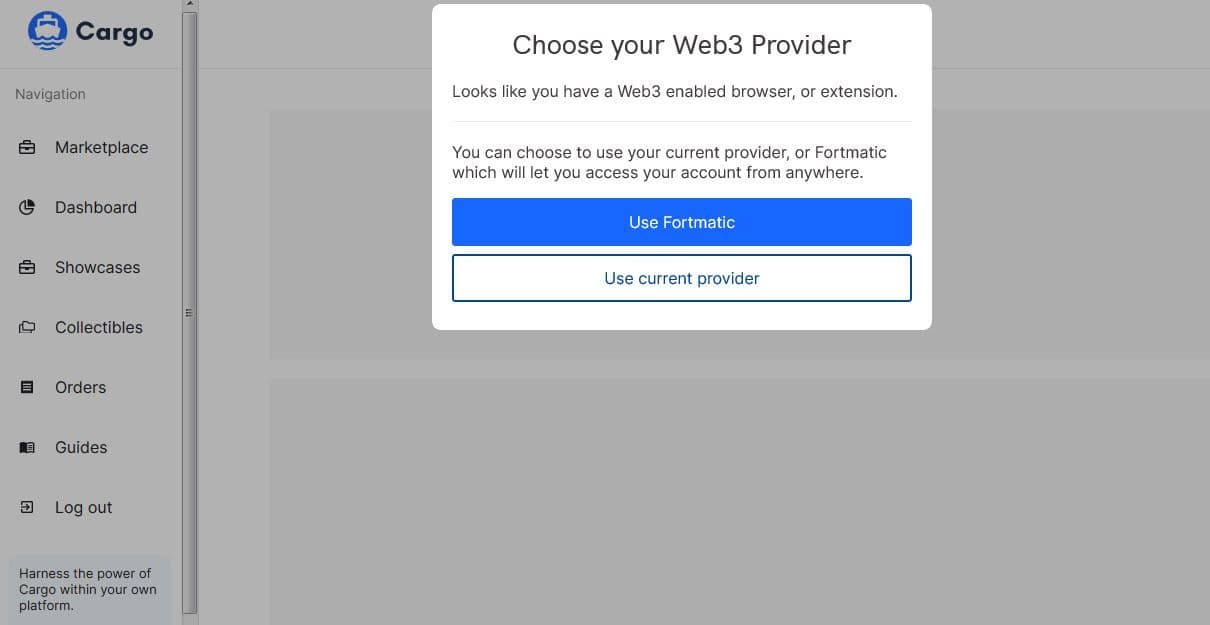
The next step is connecting a wallet by clicking “Sign up/Log in” box. It’s used for payment for the platform’s fees, binding NFTs ownership to an entity and manage the art portfolio.
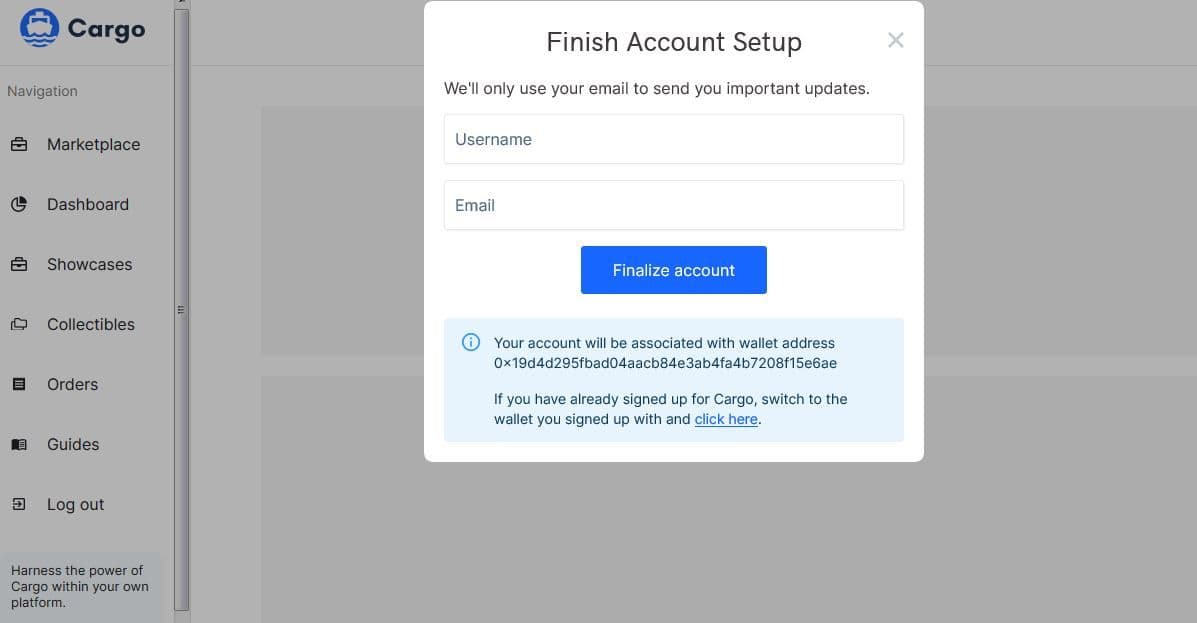
Next, the platform will ask you to provide a username and an email address.
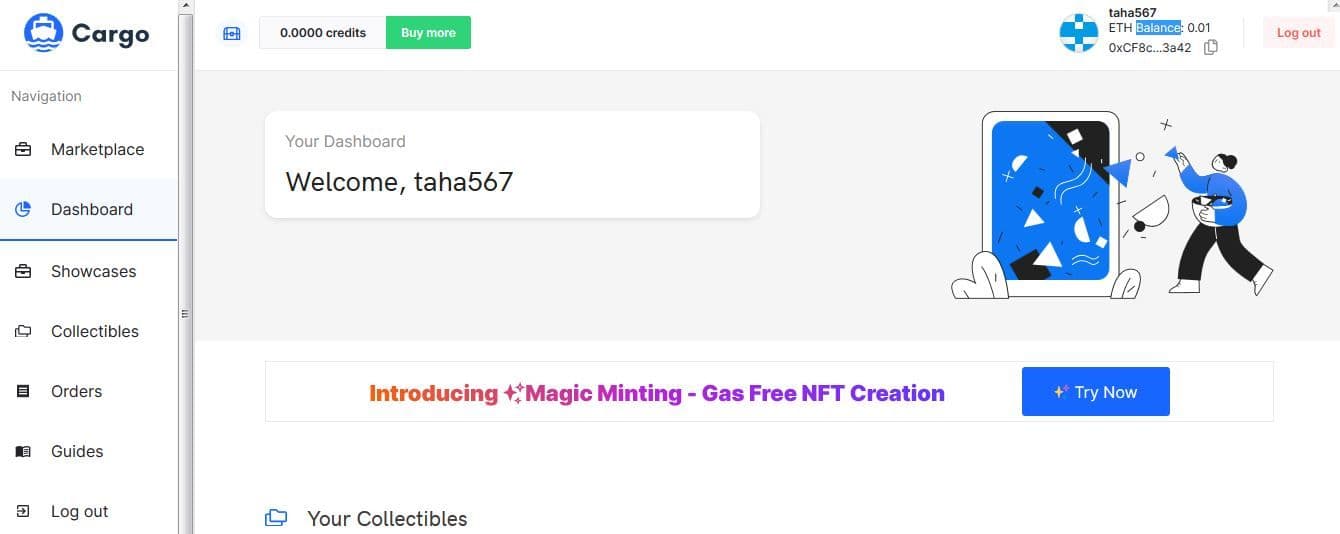
Clicking on “Dashboard” at this point will bring up the main screen, showing most of the platform’s primary functionalities.
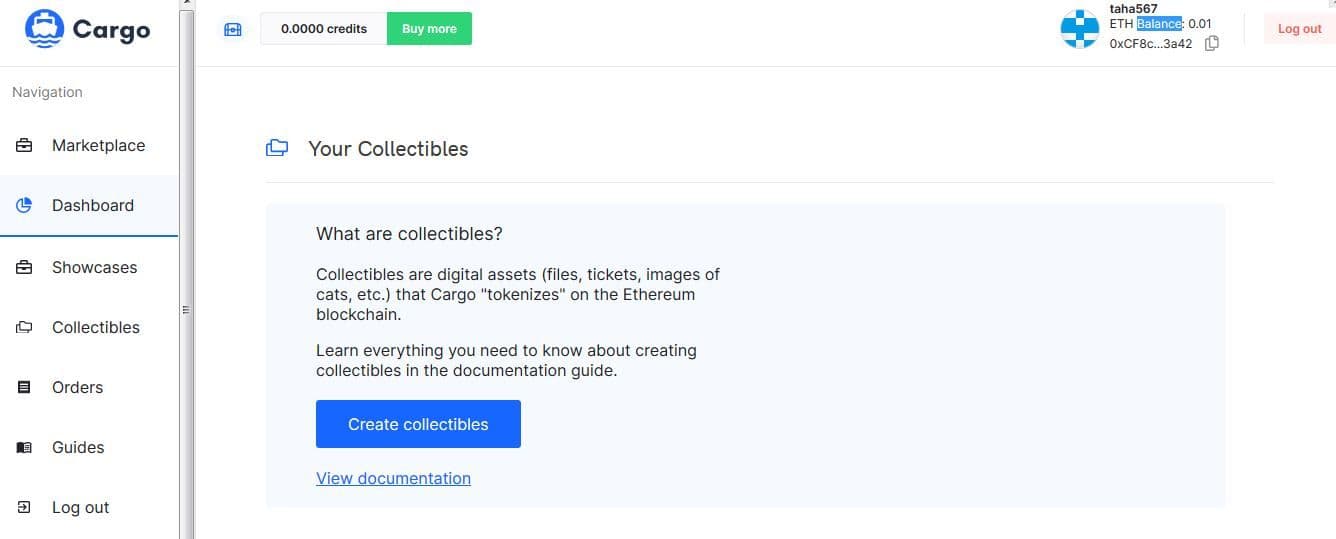
Scrolling down the page will reveal the “Create collectibles” box. Click it.
At this point, you will be presented with the choice of minting a single collectible or a collection. A single collectible, as the name describes is a one-off piece of art. The collections, on the other hand, are more plural.
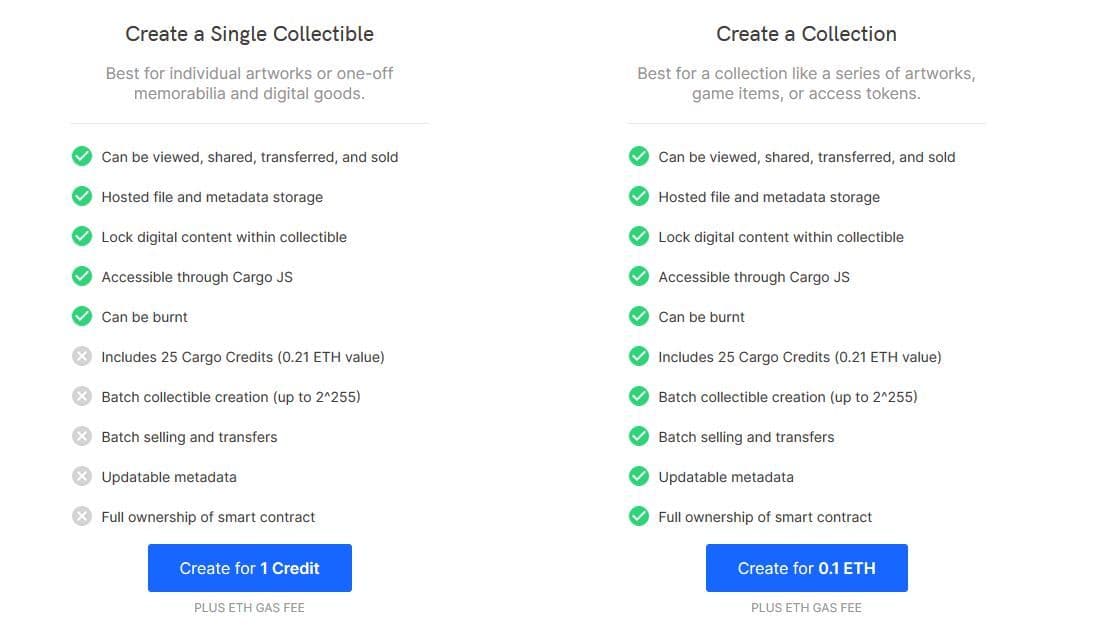
To keep things simple, we will choose the “Create a Single Collectible” option and click ” Create for 1 Credit”. And yes, you need the platform’s native “Cargo Credit” tokens to mint NFTs. We will see how to acquire them, in the next steps!
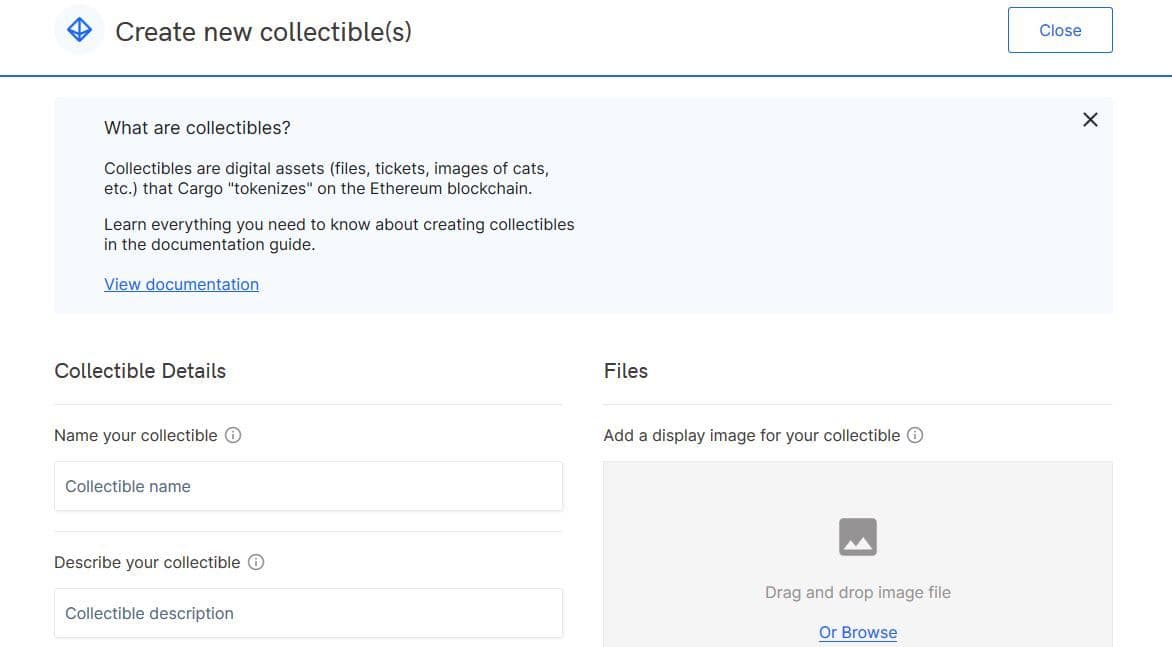
Here, we have all the basic options. Enter the name, describe what you are doing and choose an image file – the art that you want to mint on the blockchain. Scroll down.
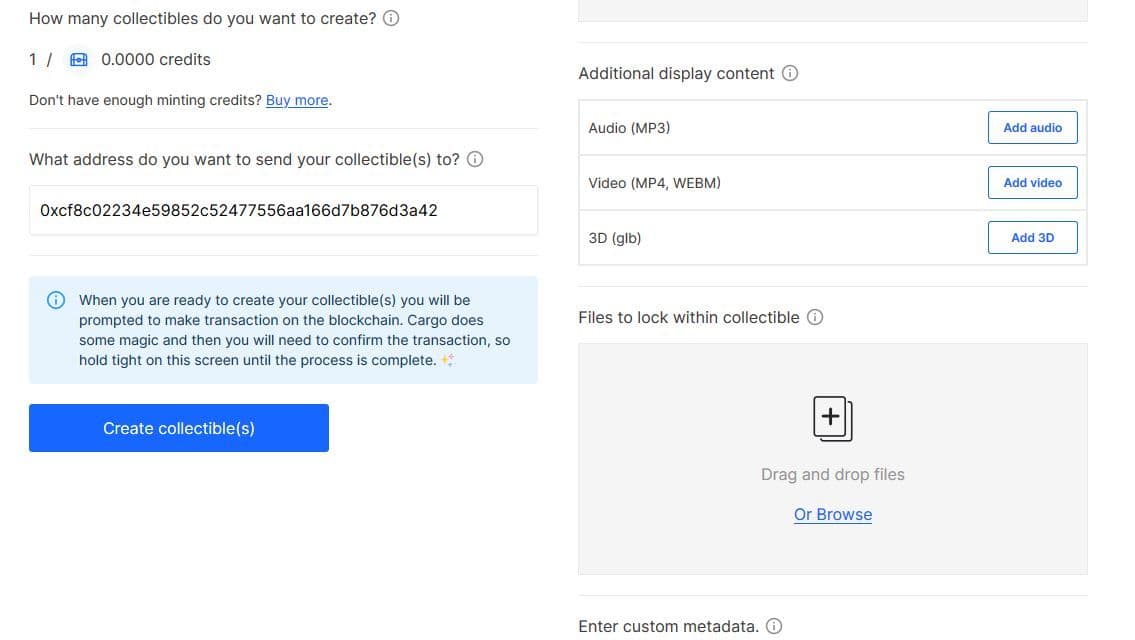
At this point, you can enter the receiving wallet address (the connected Ethereum account address is shown as default) and more media content audio, video, 3d graphics etc – according to your requirements. The custom metadata can also be entered, a bit down on the page, but it’s not generally needed. You can click “Buy more”, if you don’t have minting credits.
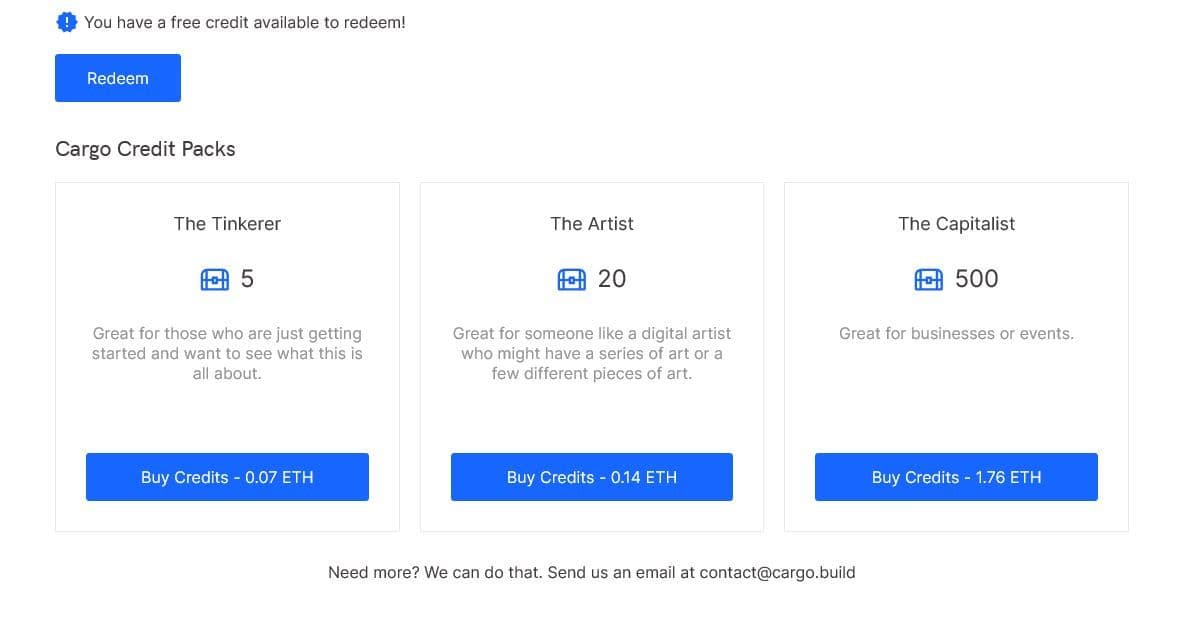
The first token for NFT minting is on the house! But, you must purchase one of these packs, if you decide to take things to the next level. Go back and click “Create collectible(s)”. Afterwards, you only need to confirm the transaction in the wallet and Cargo will do it’s magic!
You can view your newly created NFTs in the “Collectibles” section on the dashboard. Even sell it on the marketplace or create a customized “showcase or portfolio” for your art series. Why not just sell it on, one of these wallets, by simply connecting the same wallet or after transferring it somewhere else?

